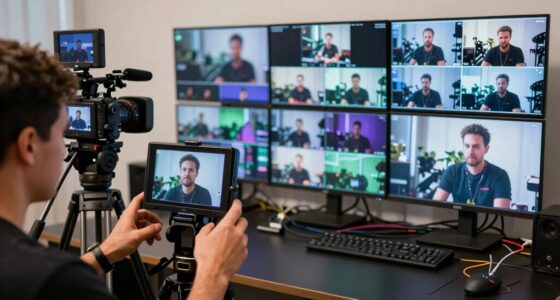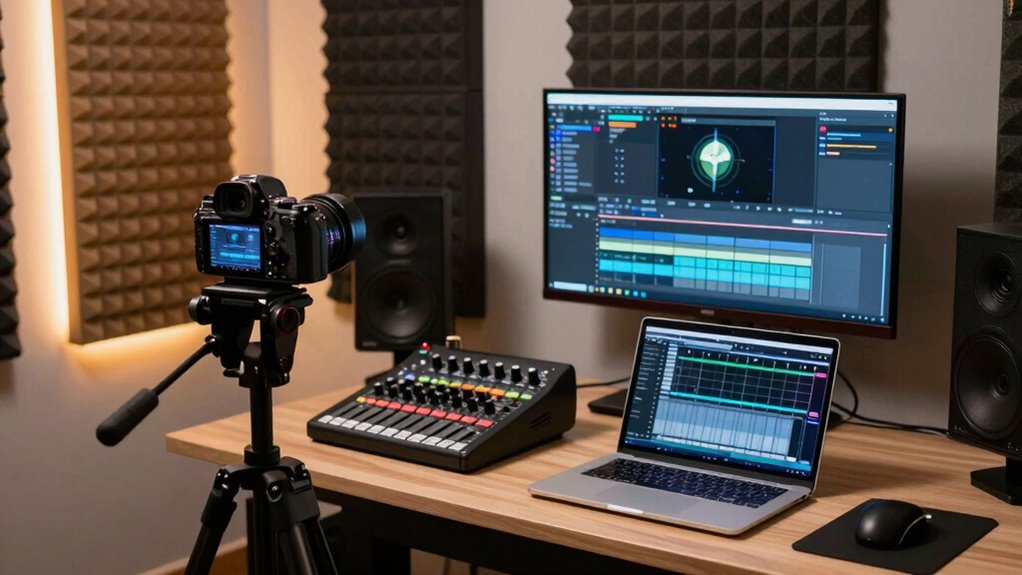

To build a professional-sounding live stream, you need a solid monitoring checklist. Start by testing your equipment beforehand, making certain your microphone is close and well-positioned, and that your environment is quiet and acoustically treated. During your broadcast, keep constant vigilance with headphones, adjust audio levels in real-time, and watch your streaming software’s health. Staying vigilant and prepared ensures a seamless, polished broadcast—continue exploring how to perfect your setup for the best results.

Get business pricing on office and shipping supplies
- Business-only prices and quantity discounts
- Tax-exempt purchasing
- Multiple users, one account, clear invoices
Key Takeaways
- Conduct thorough equipment testing and environment setup to identify and resolve potential issues before going live.
- Continuously monitor audio levels with real-time tools, adjusting to maintain clear, balanced sound throughout the stream.
- Position microphones strategically and use directional mics to minimize background noise and feedback.
- Use headphones and streaming software diagnostics to detect and address audio anomalies instantly.
- Prepare backup equipment and maintain a tidy, professional environment for seamless, high-quality broadcasting.
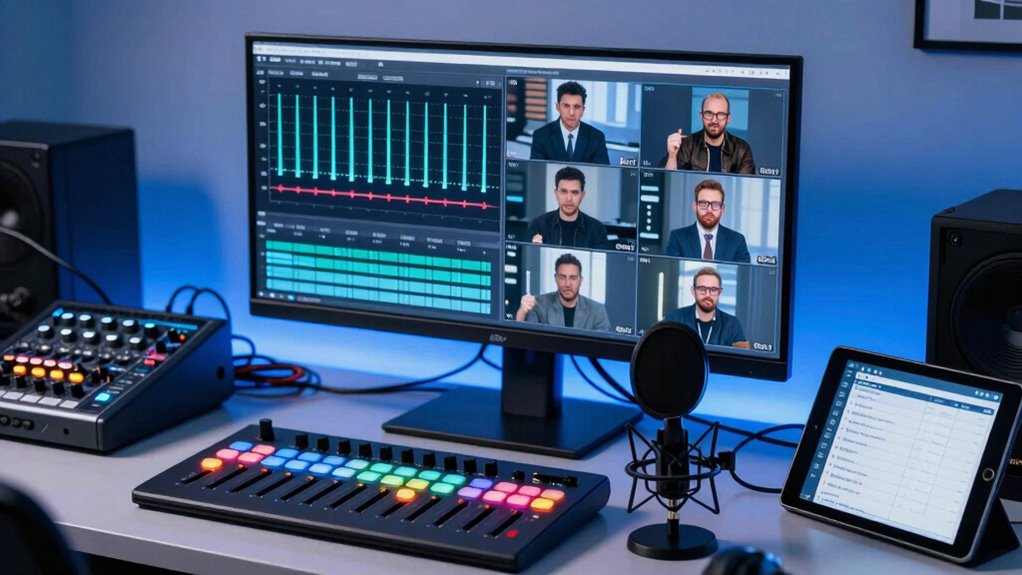
Are you prepared to guarantee your live stream runs smoothly from start to finish? The key lies in thorough monitoring and meticulous setup. You’ll need to pay close attention to your audio levels, making certain they stay consistent and clear throughout the broadcast. Sudden peaks or dips in volume can distract viewers and diminish your professionalism. Before you start, test your equipment placement carefully. Position your microphones, cameras, and speakers strategically to capture the best sound and visuals. Proper equipment placement minimizes background noise, echoes, and feedback, creating a more polished listening experience.
As you prepare, double-check your audio levels. Too high, and you risk distortion and clipping; too low, and viewers may struggle to hear you clearly. Use a soundboard or audio interface with level meters to monitor real-time audio signals. Setting your levels correctly means balancing your microphone input, mixing in background music, and making certain your voice remains crisp without overpowering other sounds. Keep an eye on the meters throughout your stream, adjusting as needed, especially if you switch scenes or introduce new audio sources. Audio levels are crucial for maintaining a professional broadcast. Additionally, understanding audio calibration techniques can help you fine-tune your setup for optimal sound quality.
Next, focus on equipment placement. Position your microphone close enough to pick up your voice clearly without capturing excessive room noise. Directional microphones can help isolate your sound, reducing ambient noise. Camera placement is equally important—set your camera at eye level for a natural, engaging view. Ensure your lighting is sufficient and evenly distributed, avoiding harsh shadows or glare that can distract viewers. Test your setup beforehand under similar conditions to those during your live stream; this helps you identify and resolve any issues with audio clarity or visual framing. Additionally, sound quality can be greatly impacted by proper microphone placement and environment control. Incorporating soundproofing or acoustic treatment can further enhance your audio clarity.
Monitor your audio and video feeds consistently during your broadcast. Use headphones to catch any audio anomalies immediately, and keep an eye on your streaming software’s health status. If you notice audio clipping or uneven sound, make quick adjustments to your levels or equipment placement. Keep your background tidy and free of clutter that could distract viewers or interfere with your equipment. Having backup equipment, like extra microphones or cables, ensures you’re prepared for technical hiccups. Additionally, understanding audio balancing techniques can significantly improve your overall sound quality.
Ultimately, building a setup that sounds professional comes down to careful preparation and ongoing vigilance. By paying close attention to your audio levels and equipment placement, you’re creating a seamless experience for your audience. When your audio is clear and your visuals are well-framed, viewers will stay engaged and appreciate your professionalism. A little extra effort before going live can make all the difference between a good broadcast and a great one.
professional USB microphone for streaming
As an affiliate, we earn on qualifying purchases.
As an affiliate, we earn on qualifying purchases.
Frequently Asked Questions
How Often Should I Update My Live Stream Monitoring Checklist?
You should update your live stream monitoring checklist regularly, ideally every few months or whenever you implement technical upgrades. Frequent updates guarantee your setup stays current with new equipment and software. Additionally, incorporate staff training into your updates to keep everyone informed about the latest procedures. This proactive approach helps prevent issues, maintains high-quality streams, and guarantees your team is confident with the latest tools and practices.
What Are Common Live Stream Monitoring Mistakes to Avoid?
You should avoid common live stream monitoring mistakes like neglecting proper audio calibration, which can cause inconsistent sound quality, and poor camera positioning, leading to unclear visuals. Always double-check your audio levels before going live, and make certain your cameras are well-positioned for the best framing. Regularly reviewing and updating your setup helps prevent these issues, making your stream look professional and sound clear.
How Do I Troubleshoot Audio Issues During a Live Stream?
Did you know nearly 60% of live stream audio issues stem from feedback or poor microphone placement? To troubleshoot, first check for audio feedback by adjusting your microphone’s position away from speakers. Make sure your microphone is correctly positioned, not too close or far, and test audio levels. Use headphones to monitor sound in real-time, so you catch issues early and keep your stream sounding professional.
What Equipment Is Essential for Professional Live Stream Monitoring?
You need essential equipment like high-quality headphones for accurate audio calibration and reliable monitors to catch issues early. Proper equipment placement guarantees sound clarity and prevents feedback or interference. Invest in a good audio interface or mixer to control levels precisely. By using these tools, you can monitor your stream effectively, identify problems quickly, and maintain professional sound quality throughout your live broadcast.
How Can I Improve Viewer Engagement During Live Streams?
To boost viewer engagement, focus on increasing audience interaction by asking questions, responding to comments, and encouraging participation. Keep your content pacing dynamic, mixing up topics and segments to maintain interest. Use polls or live chat features to involve viewers actively. By creating a lively, responsive environment and maintaining a steady flow, you keep your audience hooked, making your streams more engaging and memorable.
audio interface with level meters
As an affiliate, we earn on qualifying purchases.
As an affiliate, we earn on qualifying purchases.
Conclusion
By following this live stream monitoring checklist, you guarantee your setup sounds professional and runs smoothly. Imagine you’re hosting a virtual event—keeping an eye on audio levels, internet stability, and equipment status prevents disruptions. For example, a small business used this checklist and avoided major technical issues, delivering a seamless experience. Stay proactive, stay prepared, and your live streams will always look and sound their best, leaving your audience impressed and engaged every time.
studio headphones for live streaming
As an affiliate, we earn on qualifying purchases.
As an affiliate, we earn on qualifying purchases.
acoustic treatment panels for home studio
As an affiliate, we earn on qualifying purchases.
As an affiliate, we earn on qualifying purchases.
Halloween Picks
halloween
As an affiliate, we earn on qualifying purchases.