
To build a professional-sounding podcast setup, focus on soundproofing your space by sealing gaps and blocking outside noise, and use acoustic treatments like foam panels and bass traps to manage reflections and echoes. Proper equipment placement, such as positioning your microphone close and using a pop filter, also boosts clarity. Managing your room’s acoustics and environment is key. Keep exploring further tips to refine your setup and achieve studio-quality sound.

Get business pricing on office and shipping supplies
- Business-only prices and quantity discounts
- Tax-exempt purchasing
- Multiple users, one account, clear invoices
Key Takeaways
- Control the recording environment by soundproofing to minimize external noise and prevent sound leakage.
- Use acoustic treatments like foam panels and bass traps to manage reflections and reduce echo.
- Properly position microphones close to the speaker with a pop filter for clearer, professional audio.
- Seal gaps around doors and windows with weatherstripping to block outside noise intrusion.
- Tailor soundproofing and treatments based on room size and shape for optimal acoustic performance.
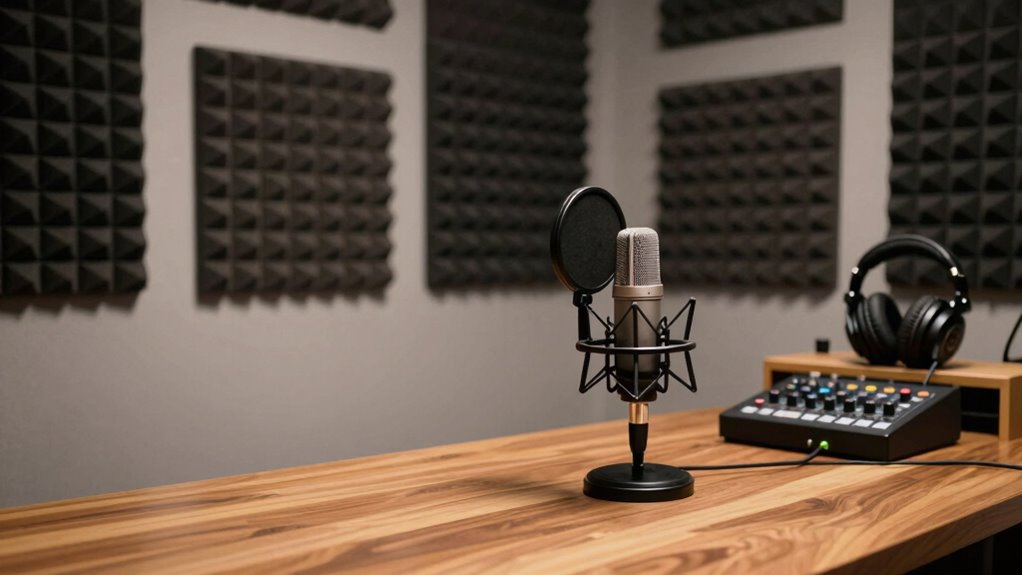
Creating a high-quality podcast starts with understanding the basics of your recording environment. Your setup’s sound depends heavily on how well you control the space around you. To achieve professional-sounding audio, you need to focus on effective soundproofing techniques and acoustic treatment methods. Soundproofing techniques reduce external noise from entering your recording space, ensuring your voice stays clear and undisturbed. This might involve sealing gaps around doors and windows, adding weatherstripping, or using heavy curtains and door sweeps to block outside sounds. The goal is to create a quiet environment so that background noise doesn’t interfere with your recordings. It’s not just about blocking noise but also preventing sound from escaping, especially if you’re recording in a shared space.
Once you’ve minimized external disruptions, your next step involves acoustic treatment methods. These techniques help manage the sound within your room, preventing echoes and reverb that can muddy your audio. The most straightforward approach is adding soft materials like foam panels, acoustic blankets, or even thick carpets. These materials absorb sound waves, reducing reflections that bounce around the room. Placing foam panels strategically on walls, especially behind your microphone and around reflective surfaces, can make a noticeable difference. Bass traps in corners further dampen low-frequency sounds, giving your recordings a cleaner, more professional tone. Keep in mind, the goal isn’t to make the room silent but to balance sound absorption enough to produce crisp, clear audio without harsh echoes. Additionally, understanding the room’s acoustic properties can help you better tailor your treatments for optimal sound quality. Recognizing the room’s size and shape can also influence your choice of soundproofing and acoustic treatments, helping you create an ideal environment for recording. Considering sound absorption techniques can further enhance the clarity of your recordings by minimizing residual echo and reverb. Moreover, adjusting these treatments based on room acoustics can lead to even more refined sound quality. Using the right equipment placement can also play a significant role in achieving a professional sound, as proper positioning minimizes unwanted reflections and noise pickup.
Getting your environment right also involves positioning your microphone properly and choosing the right equipment. Use a pop filter to minimize plosive sounds and position your microphone close to your mouth to capture your voice directly. This reduces the need for excessive room treatment and ensures your voice stays front and center in your recordings. Additionally, consider the room’s size and shape—smaller rooms with hard surfaces tend to echo more, so implementing soundproofing and acoustic treatments becomes even more critical. Regularly testing your setup by recording samples allows you to identify problem areas and tweak your soundproofing and acoustic treatment methods accordingly.
soundproofing foam panels for recording studio
As an affiliate, we earn on qualifying purchases.
As an affiliate, we earn on qualifying purchases.
Frequently Asked Questions
How Much Does a Professional Podcast Room Setup Typically Cost?
A professional podcast room setup usually costs between $1,000 and $10,000, depending on your needs. You’ll need quality microphones, soundproofing, and mixing equipment. Good podcast branding helps attract listeners, while efficient guest management makes recording smooth. Budget wisely for sound treatment and accessories to guarantee clear audio. Investing in a solid setup boosts your credibility and audience engagement, making your podcast sound polished and professional from the start.
What Are the Best Materials for Soundproofing a Podcast Room?
Did you know that proper soundproofing can improve your podcast quality by up to 50%? The best materials for soundproofing a podcast room include dense acoustic insulation, like mineral wool or foam panels, which absorb sound effectively. Additionally, using mass-loaded vinyl or thick curtains can block external noise. Combining these soundproofing materials creates a professional environment, ensuring your recordings are clear and free of unwanted noise.
How Do I Reduce Echo Without Heavy Acoustic Treatment?
To reduce echo without heavy acoustic treatment, try simple DIY soundproofing techniques. Use rugs or carpets on the floor to absorb sound, and hang thick blankets or duvets on the walls to dampen reflections. Position furniture like bookshelves filled with books or cushions strategically to break up sound waves. These echo reduction strategies are cost-effective and easy to implement, helping you improve your recording quality without extensive renovations.
Can DIY Acoustic Panels Be as Effective as Commercial Ones?
Did you know DIY acoustic panels can be nearly as effective as commercial ones? DIY soundproofing allows you to customize and experiment with materials, often achieving similar acoustic panel effectiveness at a fraction of the cost. By using dense materials like mineral wool or dense foam, you can markedly reduce echo and improve sound quality. With some effort, your homemade panels can match the professional results, making your setup sound clearer and more polished.
What’s the Ideal Room Size for Optimal Podcast Sound?
You should aim for a room size around 10×12 feet to minimize sound reflections and avoid echo. Room dimensions matter because larger spaces can cause unwanted reverb, while smaller rooms might be too cramped. Keep the ceiling height at least 8 feet to help control sound reflections. Properly treating your space with acoustic panels and diffusers will guarantee your podcast sounds professional, regardless of room size.
microphone pop filter professional
As an affiliate, we earn on qualifying purchases.
As an affiliate, we earn on qualifying purchases.
Conclusion
To create a podcast room that sounds professional, you need to take into account room acoustics, proper equipment, and strategic placement. You want clarity, reduce noise, and enhance sound quality. You want your voice to shine, your recordings to be crisp, and your audience to stay engaged. By understanding these basics, you’re not just building a setup—you’re crafting an environment that elevates your podcast, impresses your listeners, and makes your voice heard. Build smart, sound better, and podcast with confidence.
As an affiliate, we earn on qualifying purchases.
acoustic treatment panels for room
As an affiliate, we earn on qualifying purchases.
As an affiliate, we earn on qualifying purchases.
Halloween Picks
halloween
As an affiliate, we earn on qualifying purchases.